Overview
The Empuls integration with Microsoft Teams connects everyday collaboration with your organization’s engagement, recognition, and feedback workflows. Employees can appreciate teammates, redeem rewards, complete surveys, and view insights - all from within Teams, without switching tools. Quick Links: • Click here to add Empuls to your Microsoft Teams account\1. User Guide
This section explains how employees can use Empuls inside Teams both on the Home Tab of Empuls as well as on chat. This section explains how employees can use Empuls inside Teams. 1.1. Using Empuls on Empuls Home Tab The Home tab in Empuls gives employees a quick snapshot of everything they can do inside Teams - recognize colleagues, redeem rewards, view feeds, celebrations, insights, and more. Below is a walkthrough of each Home Page section with visuals. 1.1.1. Hero Banner & Points Overview At the top of the Home page, users see a banner and their current points summary. Here you can:- View how many points you can use for recognizing others
- See how many points you can redeem in the rewards store
- Quickly take action using:
- Go to shop
- Recognize
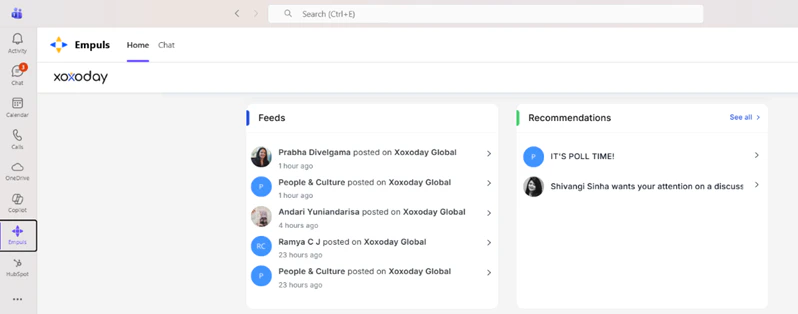
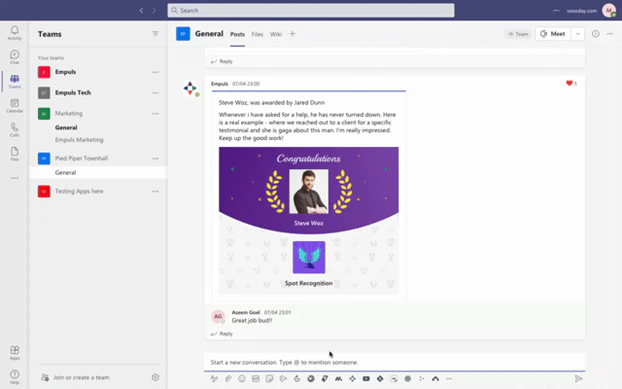
- Recognitions posted
- Company updates
- Team announcements
- Social interactions from Empuls web

- Polls to participate in
- Team discussions needing input
- Suggested actions or alerts
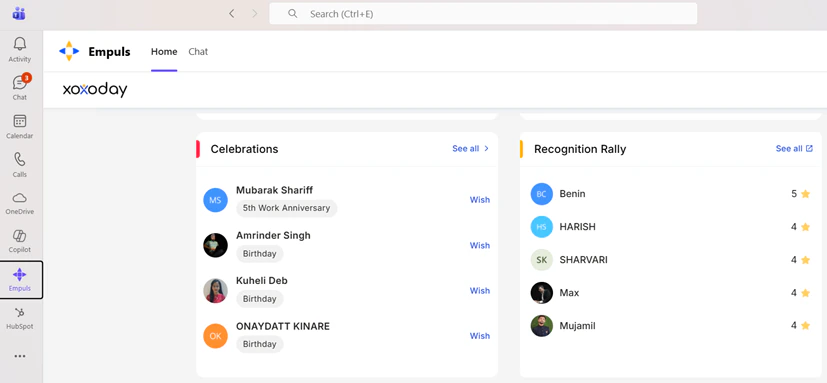
- Work anniversaries
- Birthdays

- Track appreciation momentum
- See who is contributing actively to the culture
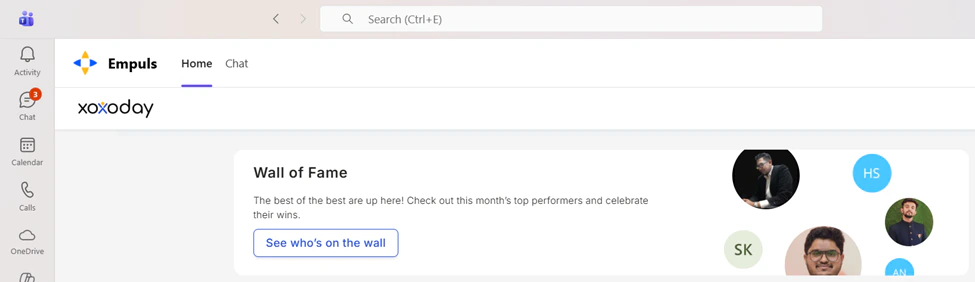
- See who made it to the wall
- Celebrate team wins
- Get inspired by organizational achievements
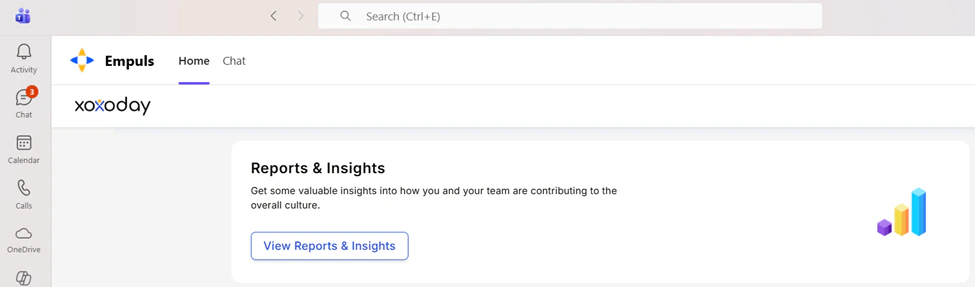
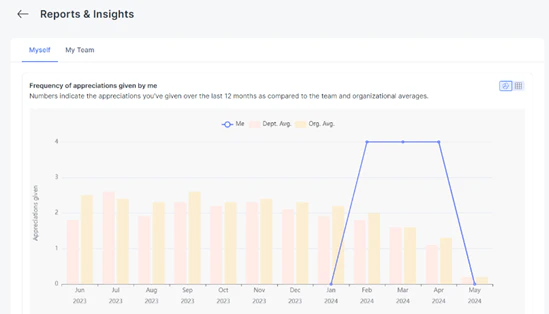
- See how often they recognize or get recognized
- Compare with team and org averages
- Understand recognition patterns and activity
- Home – For feeds, insights, recognitions, features
- Chat – For bot interactions: redeem points, respond to surveys, reminders
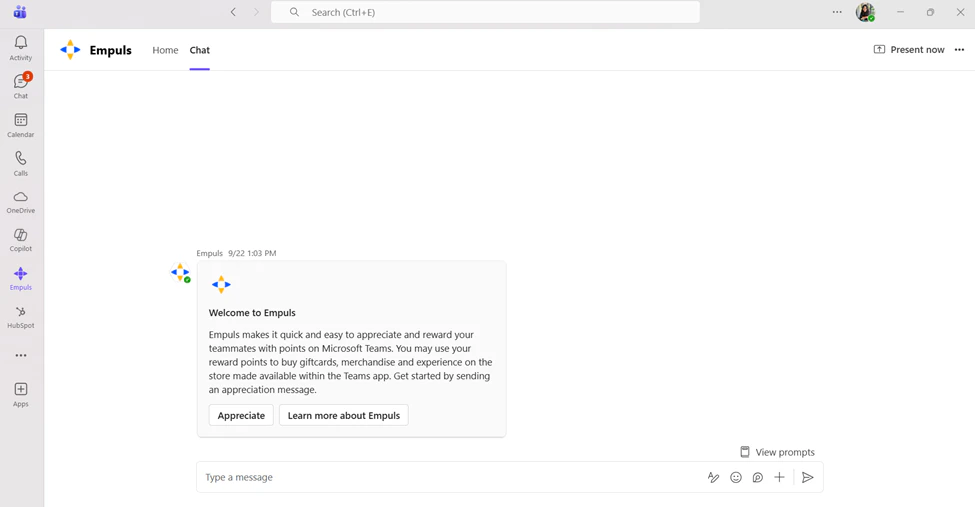
- Appreciate a colleague
- Learn more about Empuls
- Start interacting by typing a message
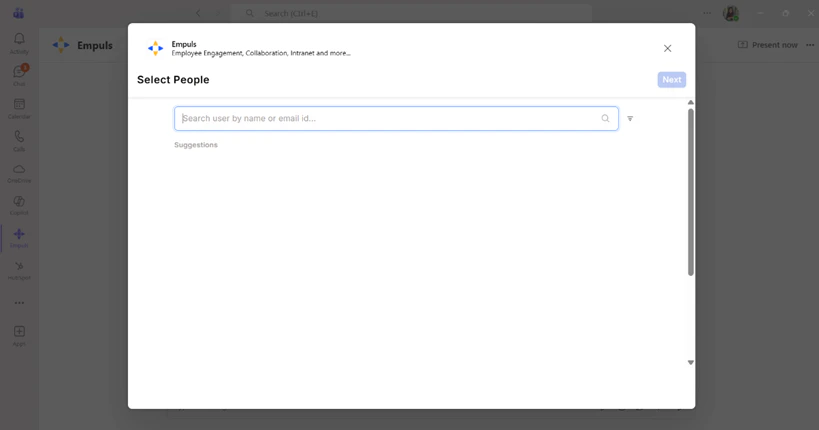
- Search for a teammate by name or email
- Select the person to appreciate
- Proceed to choose a value card/award, add a message, and submit
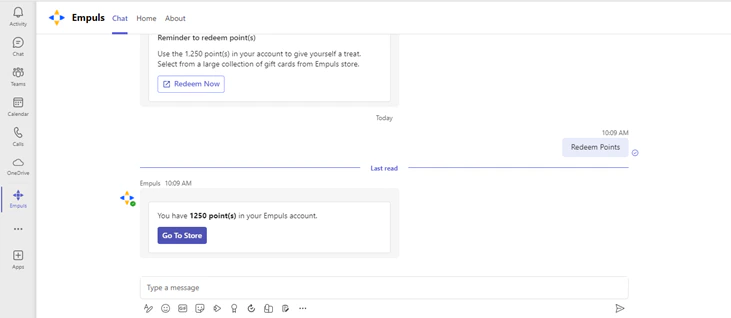
- The Redeem Points command
- Automated reminders sent by Empuls
- Your current points balance
- A Go To Store button to open the full rewards catalog
- Survey & quiz invites
- Recognition alerts
- Approval notifications
- Nudges to participate or respond
- Recognize
- Redeem Points
- Help
- Survey Responses
- Open a channel or chat.
- Click the Empuls icon from the message extension.
- Select the teammate, choose an award/value, write your message, and submit.
2. HR Admin Controls & Advanced Configuration
2.1. Publish events on a Teams Channel This feature allows Admins to automatically publish all events like award, appreciation, birthday, and work anniversary messages posted on Empuls Home Page to a dedicated channel/group chat on MS Teams. Here are the steps for setting this up- Select a public channel on MS Team where you want all Empuls messages published. Install Empuls app on it.
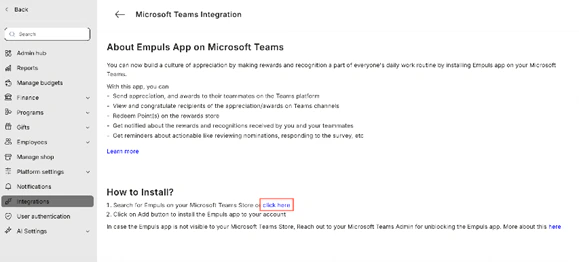
- Go to Admin Dashboard by clicking on “Reports and Settings”.
- Navigate to **Integrations > **Microsoft Teams to start the setup.
- Click on Click Here button. If you don’t see this button, move on to the next step.
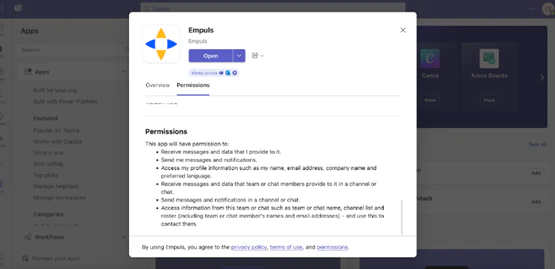
- Once downloaded, you may review the permissions in the respective tab, attached in the image below.
- Click on Select Team or Group Chat button to view a full screen pop-up with the title Edit Configuration.
- In the Edit Configuration Pop-up, select a Team or a group chat where you wish to publish all Empuls messages.

- Select the type of messages to be published on your team channel and click on Save.
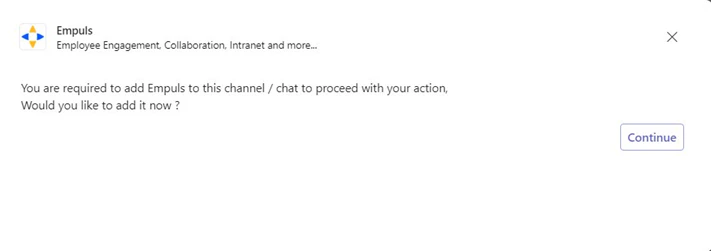
- Click on three dots on your Teams group to add Empuls.
- Click on Continue and Empuls will be added to your chat.
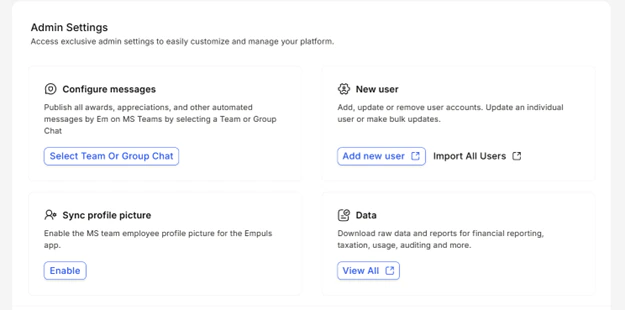
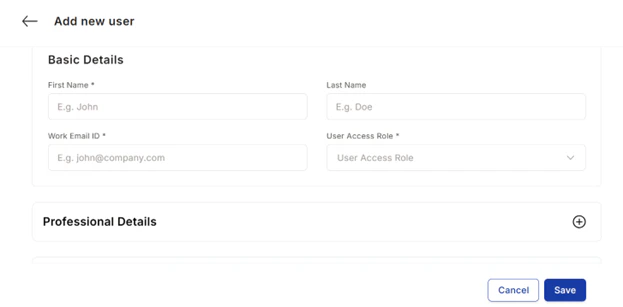
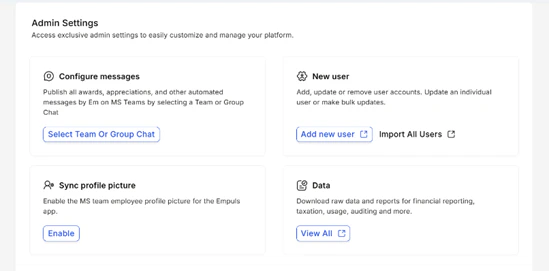
- Add new user:
- Fill in the required fields: First Name, Last Name, Work Email ID (used for login), User Access Role (User, Manager, Admin, Finance, etc.)
- Expand this section to add extra info such as Employee ID, Department, Designation, Manager Email, Date of Joining, or Location.
- Import All Users – Upload a complete user file for bulk updates.
Choose Bulk Upload
- Go to Admin Settings → New User.
- Select Add multiple user accounts.
- Click Proceed to begin the bulk upload flow.
Pre-Import Data Settings
- Review the guidelines before uploading your file:
- Only .csv files are supported.
- Required fields are: First Name, Last Name, and Email Address.
- You can upload up to 1000 users at a time.
- You may upload your own CSV, or download a sample template provided on the screen.
- Once your file is ready, continue to the next step.
Upload Employee Data File
- Drag and drop your CSV file into the upload box or click Browse file to select it manually.
- After the file uploads, confirm whether your CSV contains column headers (e.g., First Name, Last Name, Email ID).
- Check the box Yes, my file contains column headers if applicable.
Define Your Employee Data (Field Mapping)
- You will now map columns from your CSV to the correct Empuls fields.
- Review each column detected from your file.
- For every field you want to import, ensure the toggle is selected.
- Map each column to the correct Empuls Data Field (e.g., Email → Email, First Name → First Name).
- Verify sample data displayed on the right to ensure accuracy.
- Required fields: First Name, Email Address
- Click Next when mapping is complete.
Data Upload Preview
- A preview screen will show whether the uploaded records are valid.
- If all records are correct, you will see a success message (e.g., “3 user(s) data mapped without any errors”).
- If any errors exist, the system will highlight problematic rows and allow you to download them for correction.
- Click Next to proceed.
Invite Users to Empuls
- Choose when to send account invitations:
- Yes, send invites now — Users will immediately receive an email to activate their accounts.
- No, send invites later — User profiles will be created, and invites can be sent from the user management screen at any time.
- Click Add Users & Send Invites Now or Add Users to complete the process.
- Log in to Microsoft Teams admin center.
- Click on Teams Apps> Setup Policies.
- Click on Global (Org-wide default) option to edit the policy
- Click on **Add Apps **option under the Installed App section,
- Click on Add Apps option under Pinned App section, this allows you to pin the Empuls app in messaging extensions and Teams app bar.
- Go to Admin Settings inside Empuls.
- Under Configure messages, click Select Team or Group Chat.
- Choose the Teams channel or group chat where messages should be published.
- Save your selection.
- Reports
- Recognition report
- Budget report
- Redemption report
- Gift report
- Raw data exports
- Gifts
- Festive gift ideas
- Employees
- Manage employees (add, edit, remove accounts)
- Manage Shop
- Configure and manage the rewards catalog
FAQs
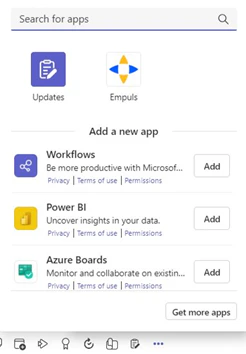
I am unable to find the Empuls app in the Microsoft Teams app store. How do I proceed?
I am unable to find the Empuls app in the Microsoft Teams app store. How do I proceed?
A: You’ll not be able to find the Empuls App if your Microsoft Teams Admin has blocked users from accessing public (Third-party) apps from the store. Please ask your Admin to enable Empuls on the Microsoft Teams app store. Refer to the Installation guide for more information.
How do I uninstall the Empuls app from a Microsoft Teams channel?
How do I uninstall the Empuls app from a Microsoft Teams channel?
You can uninstall the app from a channel by navigating the Apps section from the Manage Team option.
How do I uninstall the Empuls bot from my chat section?
How do I uninstall the Empuls bot from my chat section?
You can uninstall the Empuls bot from your account by following these steps:
- Navigate to the chat section.
- Hover on the Empuls app.
- Right-click on the app and select Uninstall.
Why does this happen?
Why does this happen?
This page appears if the Microsoft Admins at your organization have added controls to prevent users from installing or using apps on Microsoft Store.How to solve it?A) In the input box, Enter your reason for using the Empuls app and click on **Request Approval. **This will submit your request to your Microsoft Admin.B) Your Microsoft Admin can see your request in the Azure portal under the Enterprise applications section. (URL:https://portal.azure.com/#view/Microsoft_AAD_IAM/StartboardApplicationsMenuBlade//AppAppsPreview/menuId/null)Make sure to nudge your Microsoft Admin, as your request may get lost among the plethora of similar requests.C) The Microsoft Admin can allow the Empuls app to enable all users to sign in without any additional permissions from the administrators. Sample image below: